


In this blog I will share with you:
- What made us choose Dye Sub
- Our early mistakes and triumphs
- Dwell times and temperatures
- UV sprays – Useful or not?!
- Which slate is best
- Summary
- What made us choose Dye Sub
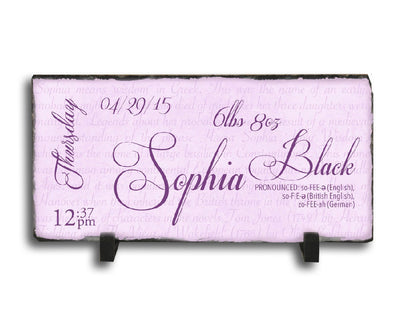
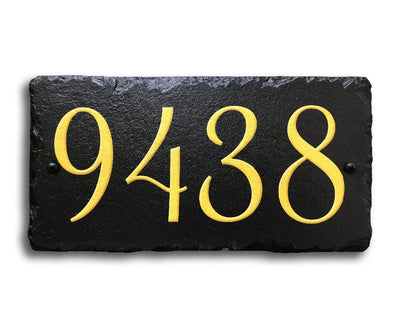
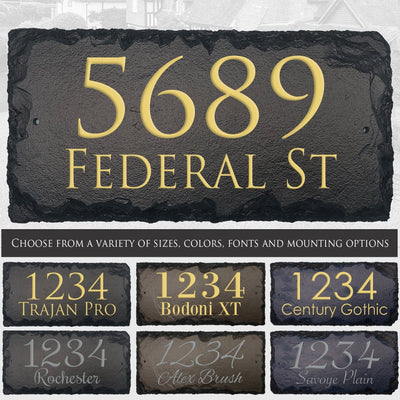
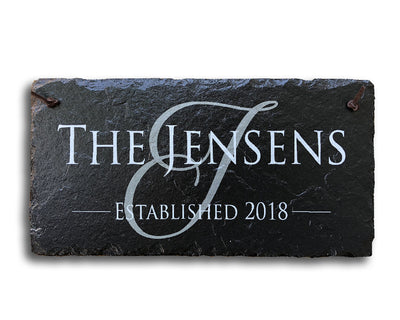
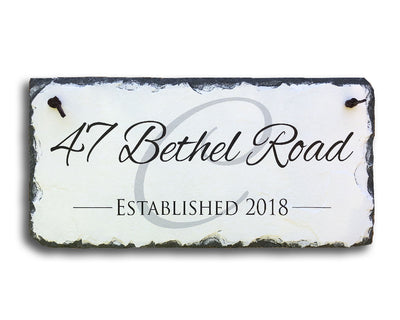
I did a lot of internet research before settling on Dye Sub. It seemed that there were very few options out there for printing on to slate. In all honesty Dye Sub seemed to be the only viable option. It wasn’t (and still isn’t) very common for this substrate, but quite a few photographers have successfully used it to create beautiful plaques. We did look at using a flatbed printer, but the results didn’t look as polished as the dye sub. Just as point of interest, we have recently switched our process so that we now use a (very expensive) UV printer to create our plaques, but this really isn’t an option for an individual trying to break into this market
- Our Early Mistakes and Triumphs
I added triumphs into this title, but to be honest most of our early products were mistakes! For a start, if you’re going to print on slate, don’t get a flat bed heat press machine. Open Drawer, High pressure, clam shell, none of them work! You will need to get a vacuum heat press machine and there’s really only one out there. (You can see my wife operating it in the top picture)
The reason a flat bed doesn’t work properly is 3 fold.
Firstly, the slate has ‘broken’ edges and, whilst the polymer coating is painted down some of these edges, the heat from a flat bed won’t transfer down the sides and this will leave you with white, or very pale edges compared to the rest of your print.
Secondly, the flat bed itself normally has a handle that you pull down to compress the top plate onto the substrate. Unless you get your slate exactly centered and the slate is completely even in thickness throughout, you will get high and low spots which will transfer more or less ink onto your slate. This will give you better transference on some areas and less on others. This isn’t so noticeable on a full color photo, however it is glaringly obvious on a b/w print or on solid colors.
Thirdly, the rate at which the ink transfers under the pressure of a flat press is too fast. This speed isn’t necessarily bad in itself, but it does mean that if you’re more than a few seconds off in your dwell times you can totally ruin your product!
We spent months trying to get the balance of heat and time along with the right pressure on a flat bed. We sold product and generally the customers were happy with the results, but we certainly weren’t satisfied! Then we discovered the Vacuum heat press machine.
So this vacuum heat press machine is essentially an oven that will heat to 200ºC. Many people use it to cook mugs and other irregular shaped products, however it does have a tray on the top which can be linked to a vacuum pump and a silicon sheet then vacuum seals over your product. This proved to be fantastic for our slates!
Now, don’t get me wrong, it’s not perfect! The biggest issues are that it’s just too small for most of the slates on the market. It will fit 2 slates that are 11.5”x7.5” but this takes the slates to the very edges of the machine and consequently the silicone doesn’t seal as well to the edges of the slate as you would like.
The transfer paper used is quite thick and it takes quite a vacuum to crush it sufficiently against the edges of the slate so that the transference of inks is perfect. We have found though that it’s the best thing on the market to do the job!
You can choose to cook just one slate at a time and, during our slow periods, we do just that, but if you want to print in volume then there’s just not enough hours in the day to cook one at a time!!
They are also very temperamental! I have learned to take them a part and put them together blindfolded, I hade to replace parts so frequently! That might be a topic for a blog on its own if anyone is that interested!
- Dwell time and temperatures
We’ve always cooked our slates at the maximum temperature of 200ºC. The dwell times we have altered a lot, sometimes on a weekly basis! There are many reasons for you to change the cook time. Are you cooking thicker or thinner slate, which slate company do you use (different slate producers use different polymer compounds), what is the ambient temperature in the room you’re working in. What temperature is the slate when you start your process? These all play a big part in your dwell times.
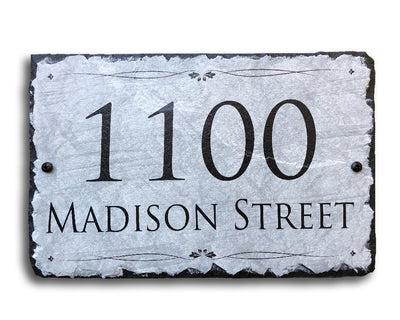
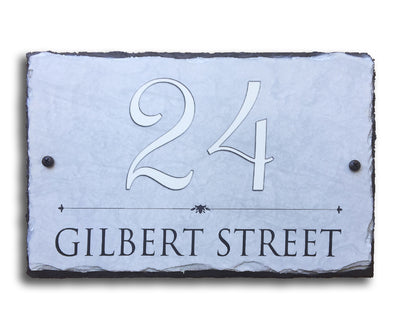
We use two sizes of slate – 11.5”x5.5” and 11.5”x7.5”
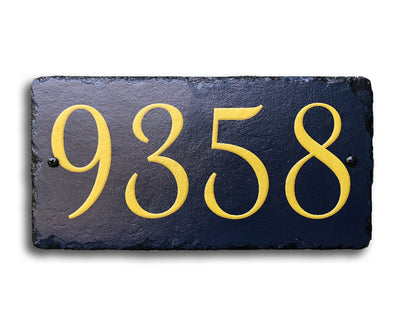
My best advice is top print a pure black slate. This is the color that is hardest to get right. You want to cook it until you have full transferrence of the ink but, if you start to overcook it the black will start to turn a brownish color.
When cooking one 11.5”x7.5” slate I would normally cook for around 7 ½ minutes. This did go down to 7 on hot days and up to 8 ¼ on cold days. I would always check the transfer paper for transferrence. The key to looking at the paper is to observe the sides of the print to the middle of the print. The middle will always be the last to fully transfer. My perfect print time would be when the very center of the print was fractionally darker than the sides.
A full list of my dwell times at 200ºC is below.
1 @ 11.5”x5.5” – 7mins – 8 ¼ mins
1 @ 11.5”x7.5” – 7 ½ mins – 8 ½ mins
2 light colored 11.5”x5.5” – 8 – 8 ½ mins
2 dark colored 11.5”x5.5” – 9 – 10 mins
2 light colored 11.5”x7.5” – 8 ½ - 9 mins
2 dark colored 11.5”x7.5” – 9 ½ - 11 mins
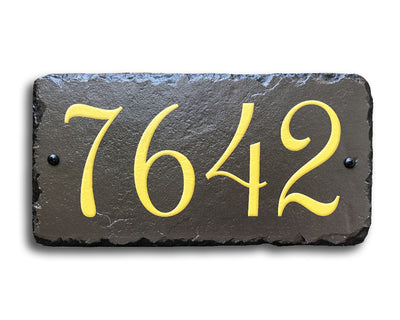
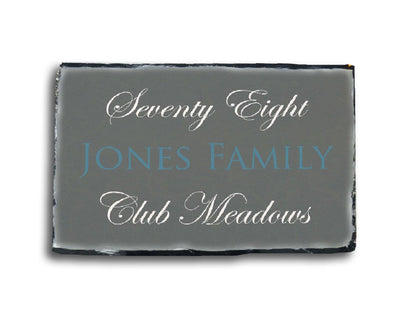
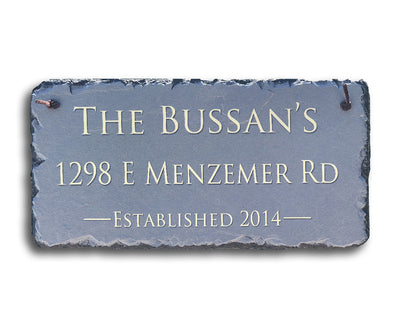
You can see how variable these dwell times can be. With the lighter colored prints the noticable variance down the chipped sides is much less so as soon as the flat of the slate is done the result looked great. With darker prints I needed the chipped edges to look as dark as possible to match the tops. I would effectively overcook the top of the slate a little so that the sides looked ok. This is a compromise and you would have to use your own judgement to decide the balance you want.
It’s worth noting that if you overcook the ink it will last for less time in the sun!
- UV sprays – Useful or not?!
The short answer is probably not! The long answer is more complicated.
After operating for 6 months or so we discovered the big flaw in dye sub printing on slates for the outside….. they fade in the sun, big time!
We got our first complaint of fading within 6 months of a plaque going out and we had no idea why. These inks aren’t terribly UV resistant but should last longer than that. After much investigation and consultation with experts in the field we have come to the conclusion that it’s not just UV exposure.
The fact is that slate can heat up to 150º when left in the sun on a hot day. The UV exposure isn’t good for the inks, but at 150º the inks will continue to sublimate, all be it slowly, and cook the inks out of the slate. No amount of UV protectant will help that!
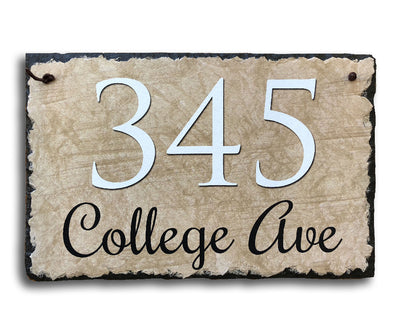
We have used Krylon acrylic UV spray on all our slates. We printed 2 slates and coated one with the spray and left them both out in the sun for a hot Californian summer…. Neither fared particularly well!! It is possible that the UV coated plaque fared slightly better, but to be honest it was hard to tell. We continued to use the spray because it’s something we could tell customers and we do believe that, if a plaque is getting some sun, but not enough to heat the slate up, then a UV spray could extend its life. The extra cost is negligible and we obviously want our product to be the best it can be within the limitations of dye sub printing. We also started putting a disclaimer on all our listings urging the customer to display their sign out of direct sunlight. We have had very few complaints about fading so either people are listening to us or they simply can’t be bothered to complain about a $36.95 product! Maybe it’s a combination of both!
- Which slate is best?
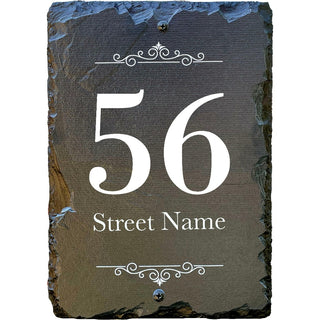
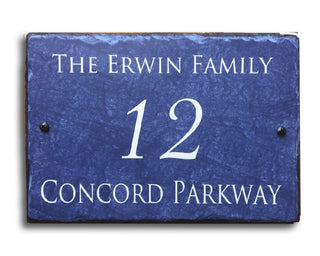
Initially we had no idea there were various options on the market! We totally lucked out by getting the best brand on our first purchase! We bought from a company called RPL based out of NJ and I have to give a shout out to Neil who has been awesome handling our business!
We use the slab16 (11.5”x5.5”) and slab04 (11.5”x7.5”) You can buy this product both matte coated and glossy. We managed to get a deeper black out of the glossy coating, but we liked the matte finish more! NB. If you use a UV spray you can get a matte spray and use this on your glossy slate to get the best of both worlds!
After our first year we decided to go to China for our slate in order to reduce costs. I contacted about 5 companies through Alibaba and paid to get samples sent over. It soon became glaringly obvious that not all polymer coatings were equal! Fortunately one of the companies in China turned out to be the parent company of RPL and so they were happy to take over our supply. You do need to order in serious bulk if shipping from China in order to keep costs down and you also need to plan at least 2 months in advance as the lead time on this sort of product can be 5-8 weeks.
- Summary
I think that covers everything! If you have any questions or observations then please don’t hesitate to reach out.
Simon